Renderwow
When we download or install a new version of 3ds max, you may want to know how to copy a custom bitmap path (which can contain up to 1024 unique entries) from a lower version of 3ds Max to a newer version instead of manually replacing all of it. Let's copy the 3DS Max 2018 bitmap path to 3ds Max 2019.Ini for example. The specific operation steps are as follows:
Ensure that no copy of 3ds Max is still running.
Make sure you can view Hidden Files/Folders in Windows.
Navigate to the following path in Windows 7, 8.1 or 10 (the version should be the one that you want to copy the bitmap paths from):
C:\Users\%username%\AppData\Local\Autodesk\3dsMax\20xx - 64bit\ENU
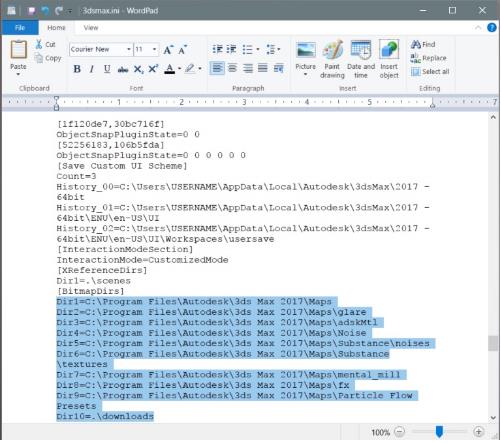
Open the 2018 3dsmax.ini file in a text editor such as Wordpad, and search for [BitmapDirs].
Under that entry, you'll see a list of specific folder paths saved for texture bitmaps.
Left-click and drag over all these folder paths to highlight them, then click Control-C to copy them. Close this text file without saving any changes.
Now, navigate to your \ENU folder for 3ds Max 2019, open its 3dsmax.ini file and search for [BitmapDirs].
Highlight the appropriate text entries there. Then click on Control-V to replace these entries with the ones from the 2018 .ini file. (Make sure to delete any unnecessary empty lines afterwards.)
Now, re-save the updated 3dsmax.ini file.
When you open 3ds Max 2019, the user paths from 2018 should be present.