Renderwow
In 3ds Max, A model can have many alternatives to the way it was made. For example, a vase, the most common is the "turning" modifier. Of course, you can use "lofting" and "topological", but you can even use a "shell" modifier. The list goes on and on, of course sometimes when a method doesn't work, using another way can solve this. The key is, which method will be the fastest. Here are some common techniques/commands for more experienced? designers.
1. The map can be drawn directly from the software to the object.
2. For editable polygons apply the displacement map in the texture editor map to create a pattern. I'm going to make a stereoscopic effect. This effect can only be seen in the render window.
3. When rendering the scene, the whole scene is dark or bright. You can use a physical camera to open exposure control to affect the lighting. You can adjust it to the way you want it.
4. In the process of using the mouse to move, rotate, scale and adjust the object. If you want to give up the operation you can keep the left mouse button and click the right mouse button. The object or value will revert to the state before the operation(PS. Right-click the triangle area on the right side of the numerical input box, It's going to be zero.).
5. Quick add modifier. In the past, when you add a modified modifier to another model, you can click right to copy. Then right click on the other model.
Now I'm going to teach you a new and simple way. Just click on the modify list, holding down the mouse and dragging it to another model. You can do it with one key, it’s convenient and quick(This technique applies to any version.)!

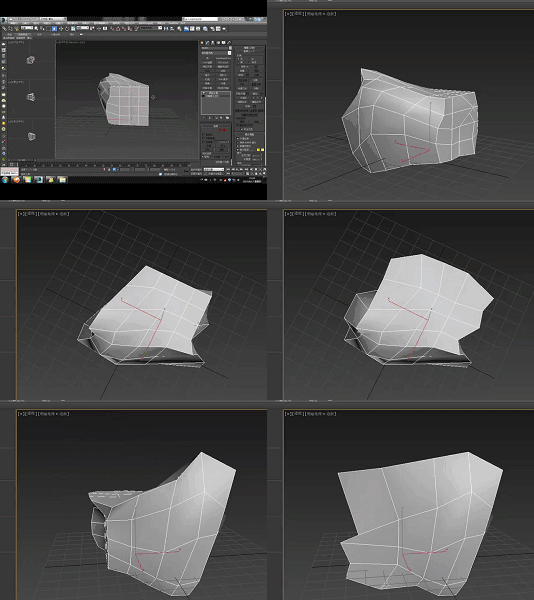
6. Quickly adjust the model structure. As the modeling increases, especially the role model. It's all a choice. I'm going to determine the moving axis, and then finally moving along a particular axis. This operation has bene known to be troublesome for many.
Now, a quick way to do this, Is to drag command in the graphite tool. Hold “Alt” while holding the mouse closer then moving the mouse directly. This method regarding the position of moving the point directly has been proven to be quite convenient and quick(ps:I'm holding Alt, It's to make the point move parallel to the screen coordinate space, Otherwise the point will be parallel to the world grid.),This technique USES the max. 2010 version.

7. The line of the model is serrated, and the images that are imported are very low. This problem can be solved by adjusting the “anti-aliasing” and “texture” to maximum in the viewport configuration.
8. Holding “Alt”, “CTRL”, and “shift” and clicking on any one of the keys and the right mouse button to quickly adjust the model's axis mode. Create polygons and transform capture methods, etc. Instead of looking for these ICONS.