Renderwow
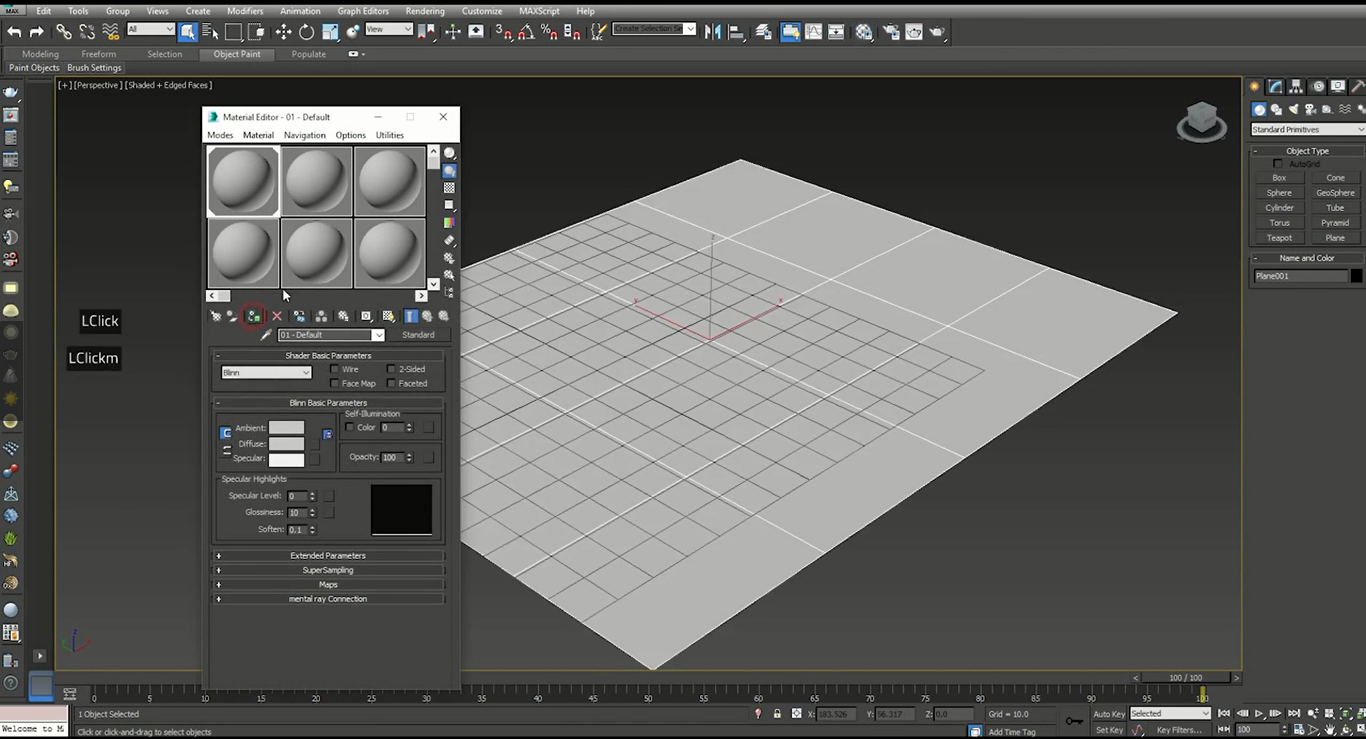
Step 1: To start, please open 3ds Max, then find the standard model in the right command stack. Create a plane, then press the shortcut key “M” to open the material editor. Once done please select the plane and the material separately, then click on “Assign Material to Selection” to add the material to the plane.
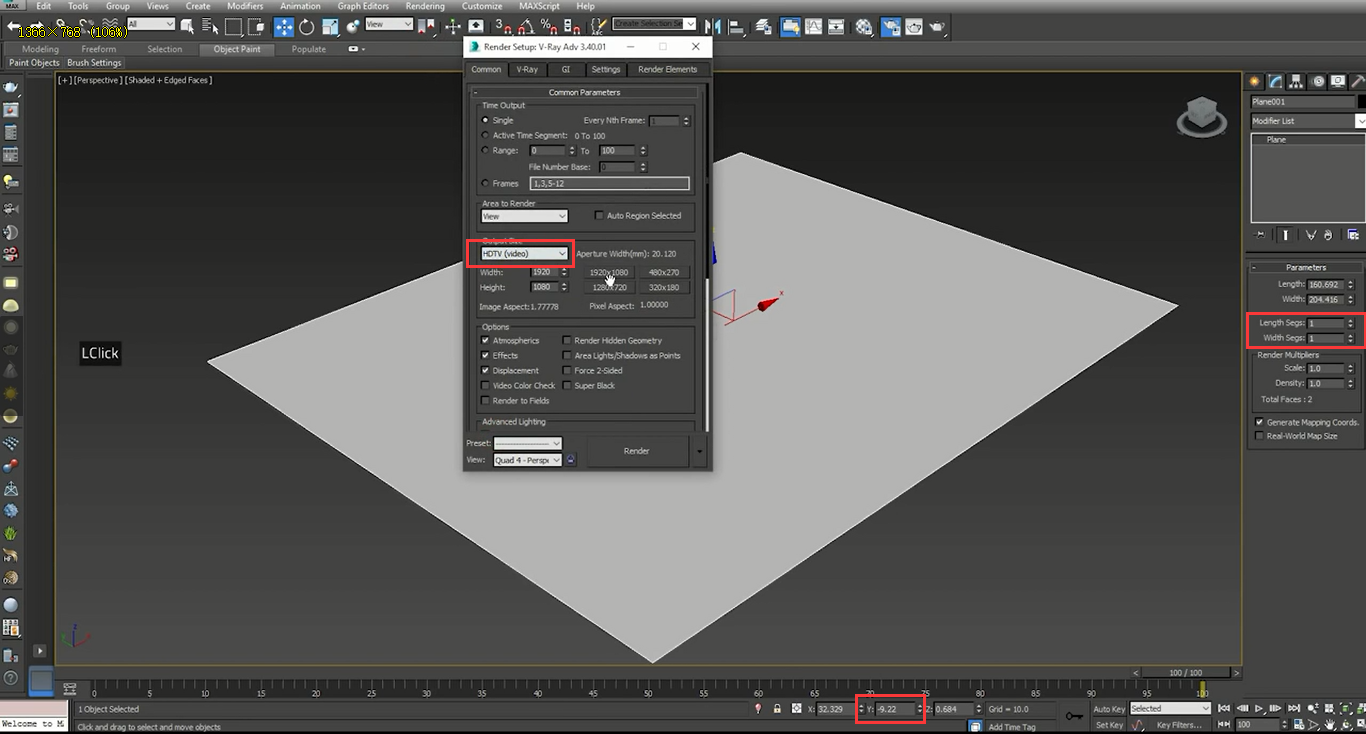
Step 2: Adjust the subdivision, height, and resolution of the plane in the properties panel that can be found on the right.
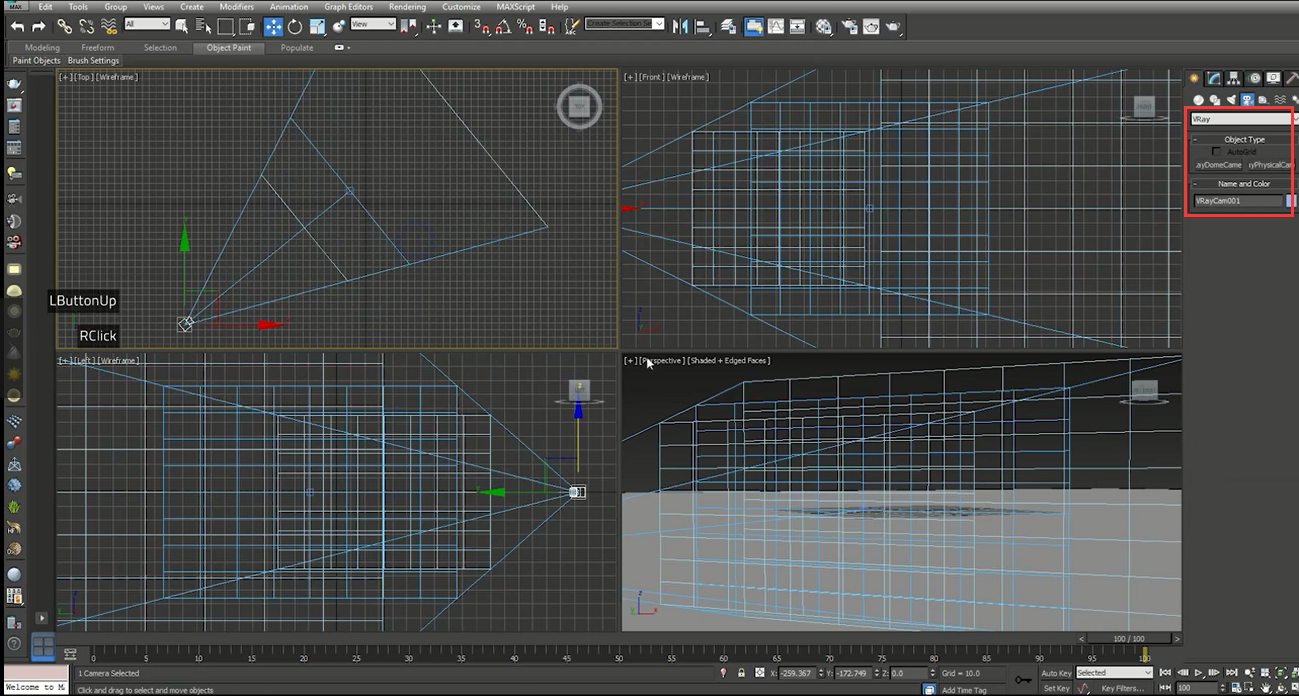
Step 3: “Ctrl+C” creates a V-Ray camera for the scene.
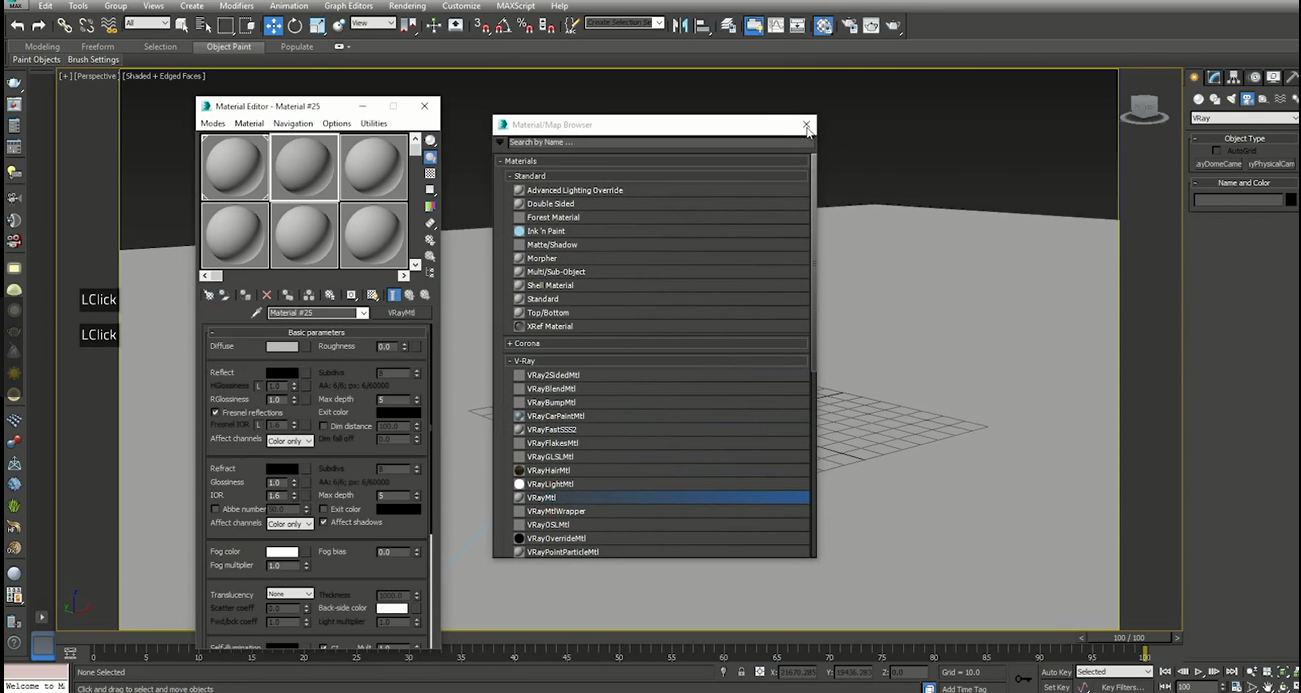
Step 4 : Add “VRayMtl” material to the plane, then prepare the parameters for the water surface.
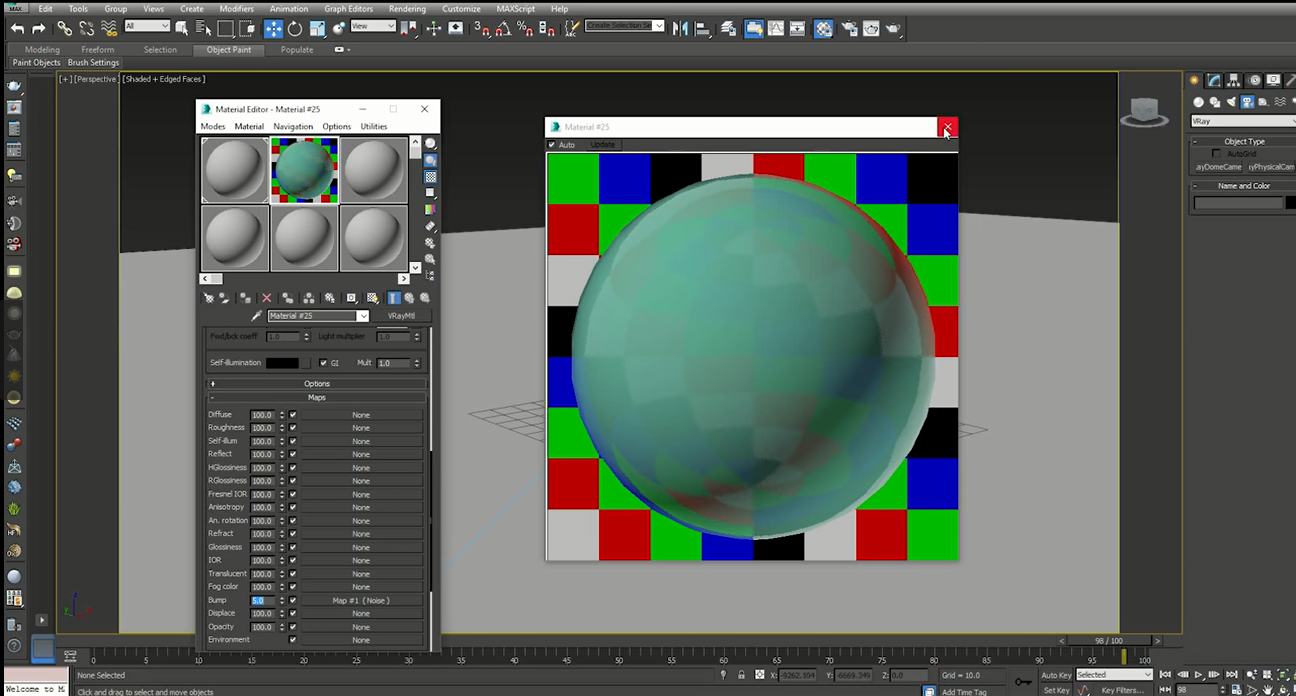
Step 5 : Now adjust the parameters of the material in the material editor. For example: the bump value and the color gives a more realistic water look to the plane. Trying to add noise, finally, the plane is adjusted to the surface wavy.
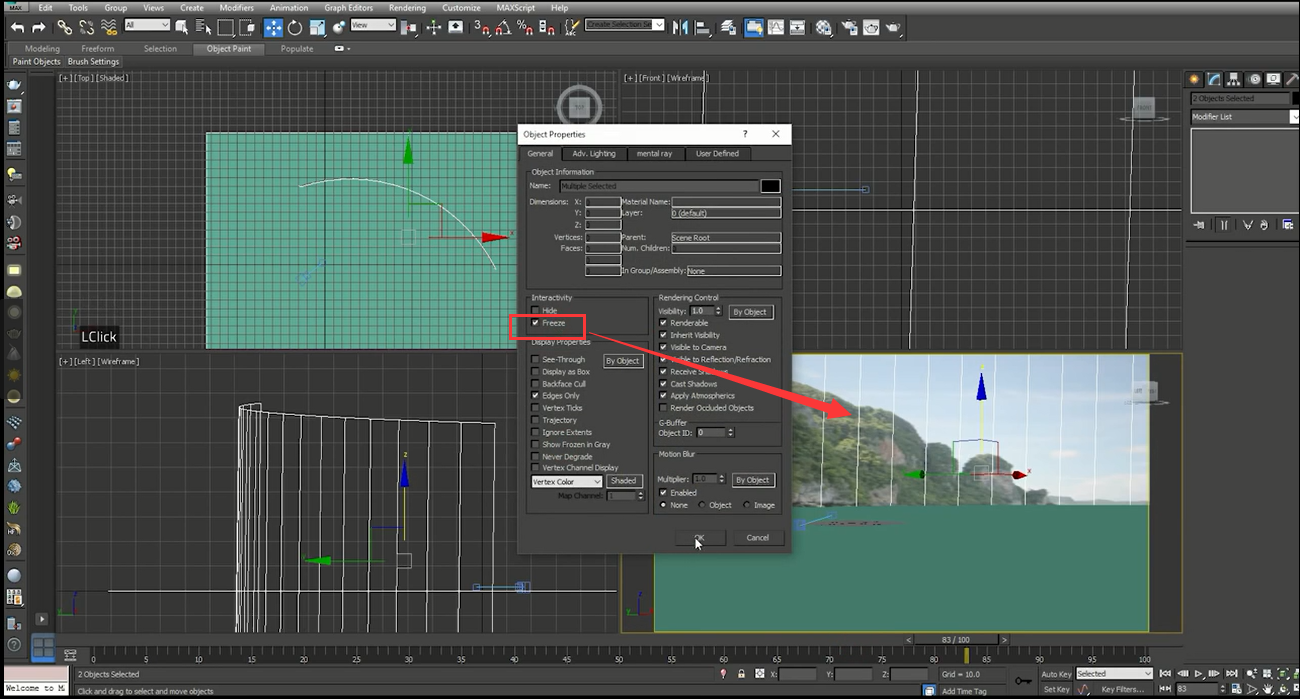
Step 6 : Create a new plane in the scene, the same method as “Step 1”. Then create a good plane imported image as the background, then try to adjust the angle of the view to make the horizontal plane and the background picture seamless. After the adjustment is completed, you need to right-click the editing panel of the model then check the frozen background image. This prevents the image from inadvertently moving and causing a readjustment.
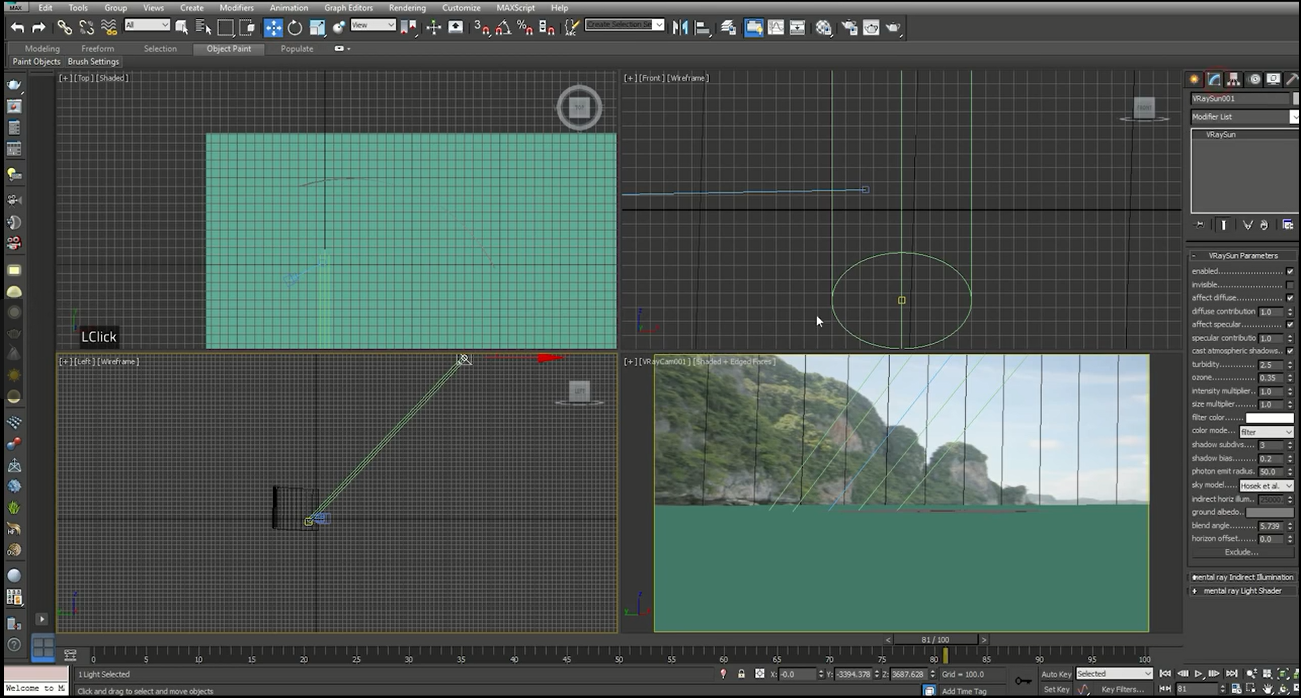
Step 7 : In the upper left corner of the small window, switch the perspective to the camera view. Add a bunch of V-Ray sunlight to the scene by referring to the front view and the left view. Then allow for the whole scene to warm up.
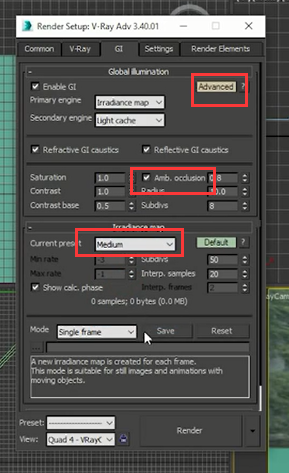
Step 8 : Next, you need to adjust the relevant parameters of the light. To do this open the reflection/refraction, and then open the GI to open the global illumination.
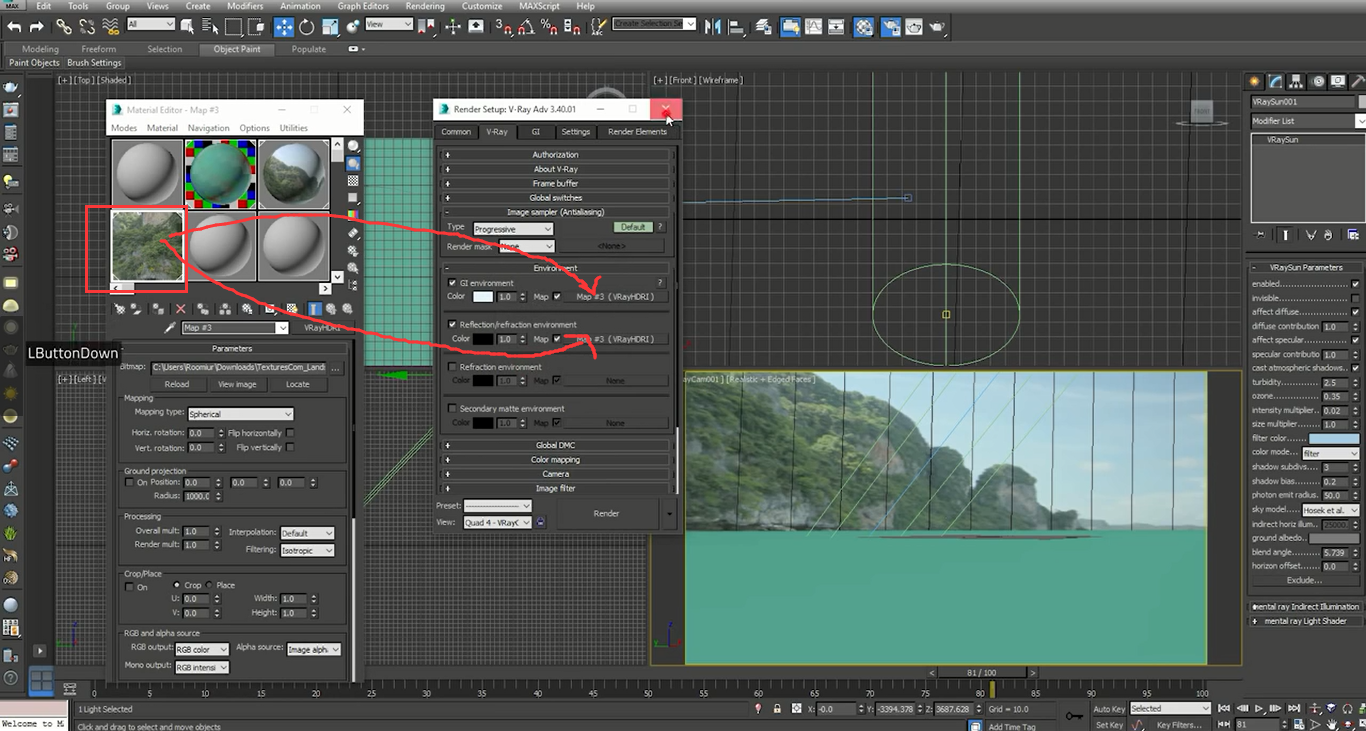
Step 9 : To make the scene look whole (because the scene was built with two planes), You can add HDR. Once added, it needs to be associated with reflection/refraction, and GI. This step is important to the scene.
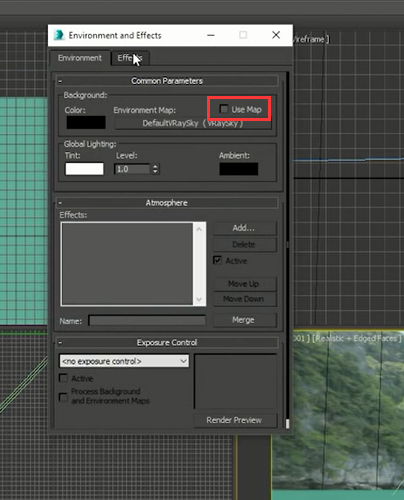
Step 10 : In addition, you also need to set the parameters for the background. The shortcut key 8 opens the Settings panel, once opened uncheck "Use Map".
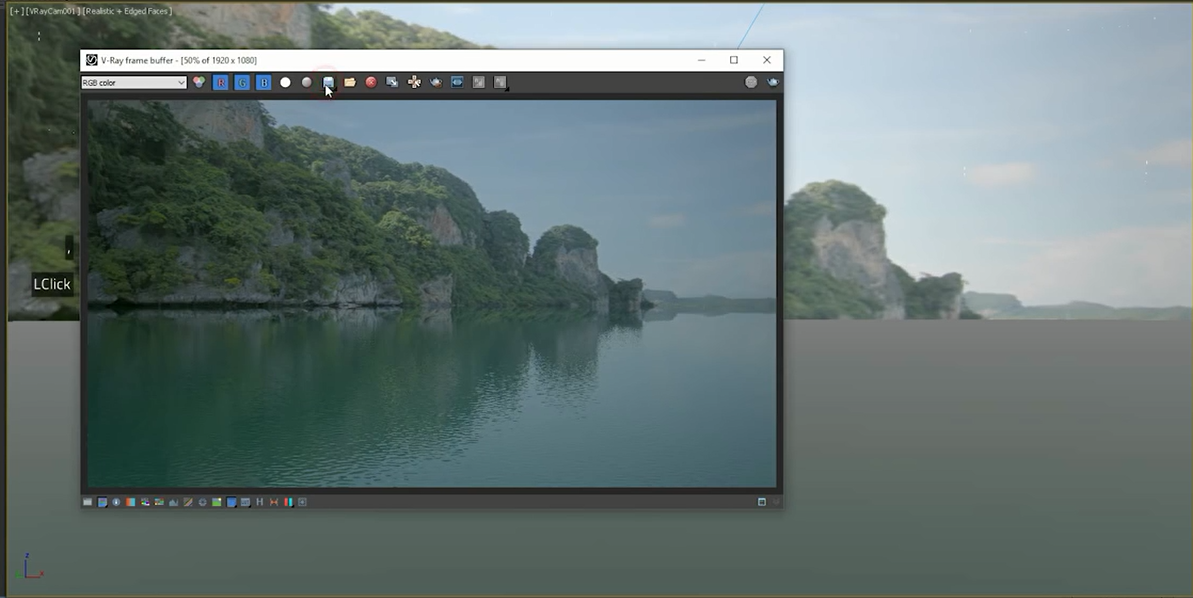
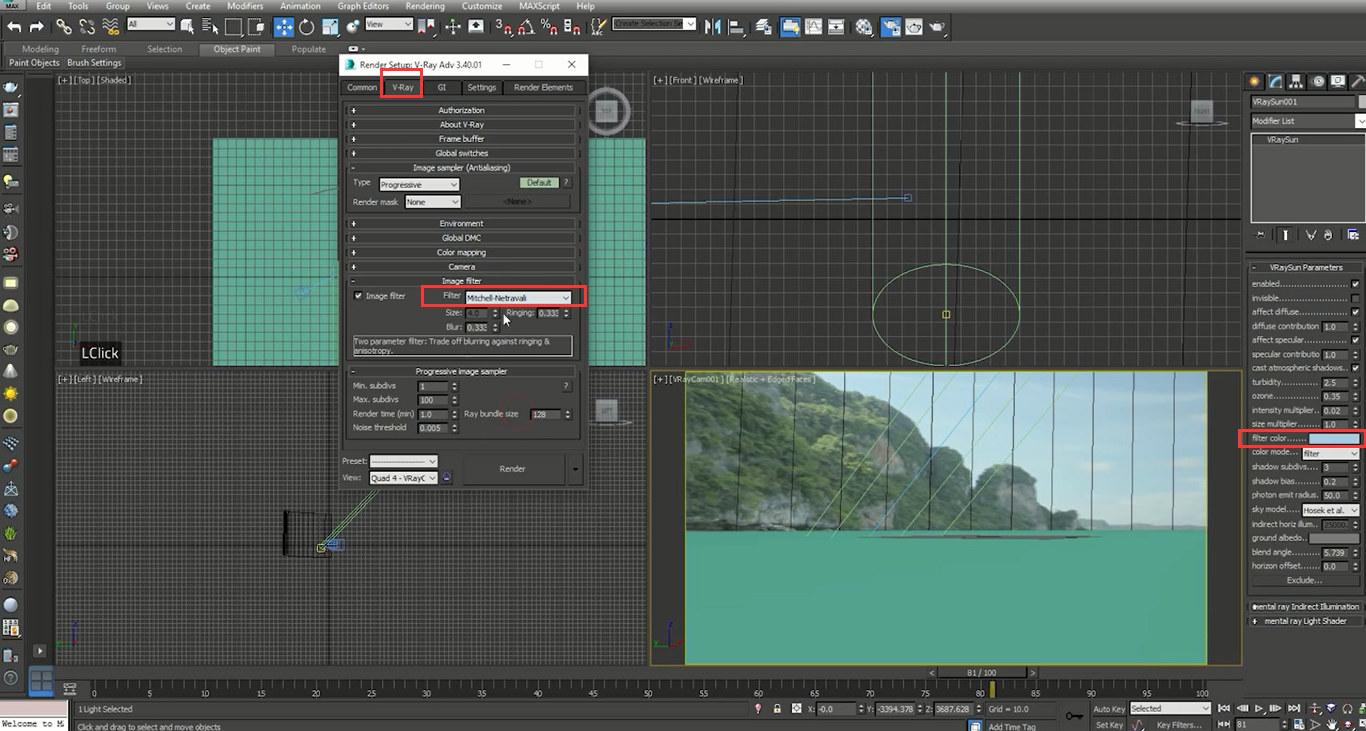
Step 11 : Confirm the final render Settings. You need to confirm the following points: Render the result format, image naming format, image output path and anti-aliasing, resolution, etc.
Step 12 : After rendering, you can make more detailed modifications to the later synthesis software, Make the renderings more perfect, realistic, or however artistic way you prefer.