Renderwow
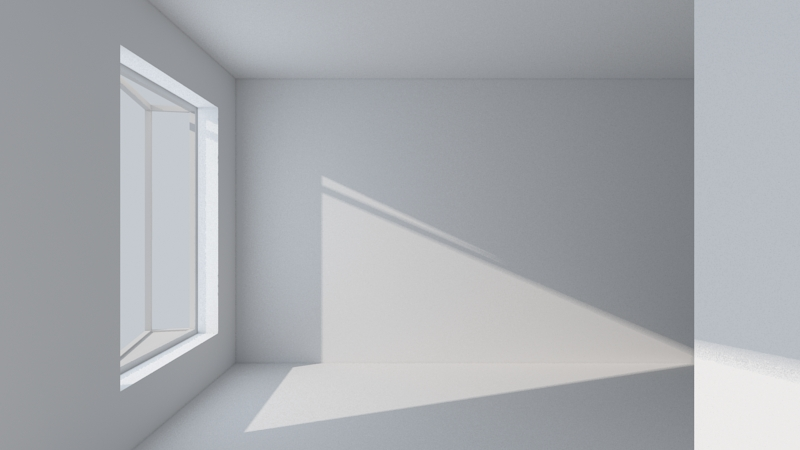
This article is about how to quickly produce high-quality real indoor natural light in 3ds max. This tutorial is more suitable for 3ds max artists and studios, or just beginners.
Want to make natural and real natural light, it is necessary to understand the influence of natural light on indoor space in a real scene. As following diagram, you can see that there are large windows in the whole scene. The whole scene is very bright under natural light. At this time, it can be observed that, the smallpox near the window is brighter, and the light source is colder. Look at the smallpox on the right side of the picture, that is the position in the space, the ceiling is weaker than the light, and the color is warm.
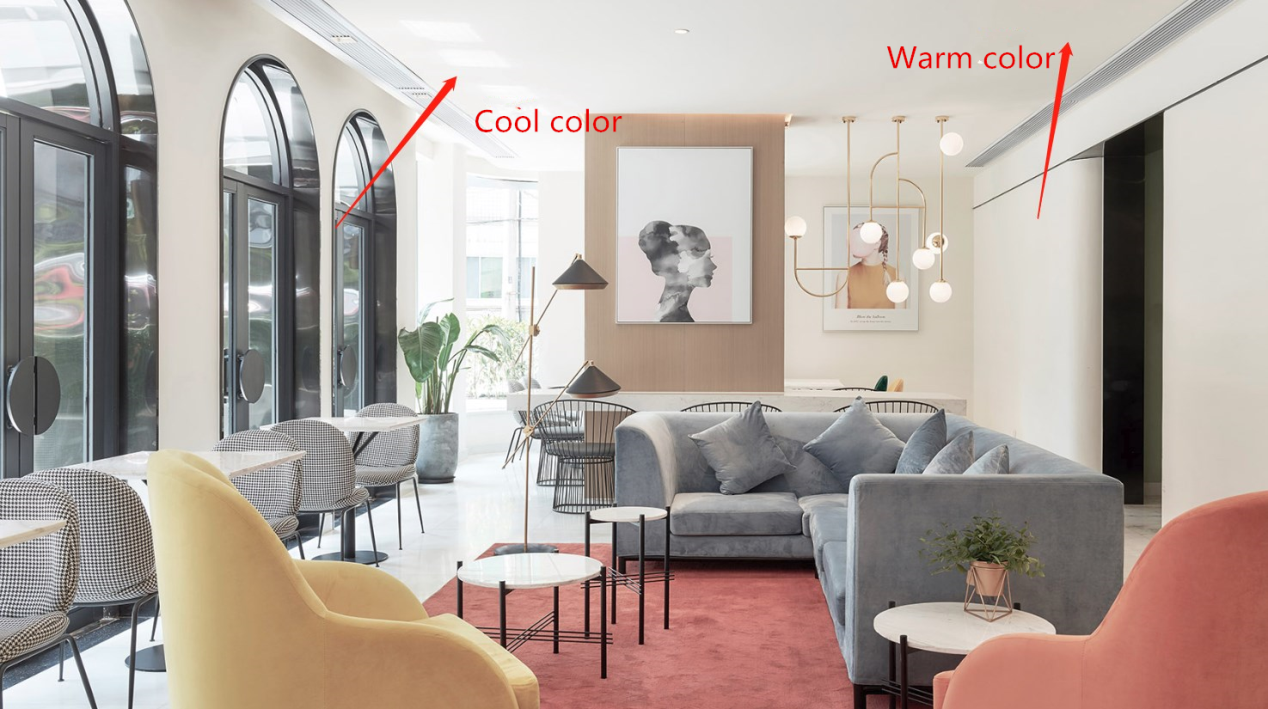
Why does this happen? this is because the brightness of the indoor environment is not only affected by sunlight, at the same time, it is also affected by skylight. In fact, smallpox on the window is mainly affected by skylight, but skylight can affect less. Therefore, the position of space is not affected by skylight. At the same time the sky is cold, so this will happen in the picture.
The following is the beginning of the lighting link.
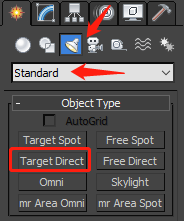
1. Select standard in the light, then select Target Direct. Use this light to simulate sunlight.
2. To arrange lights in the top view.
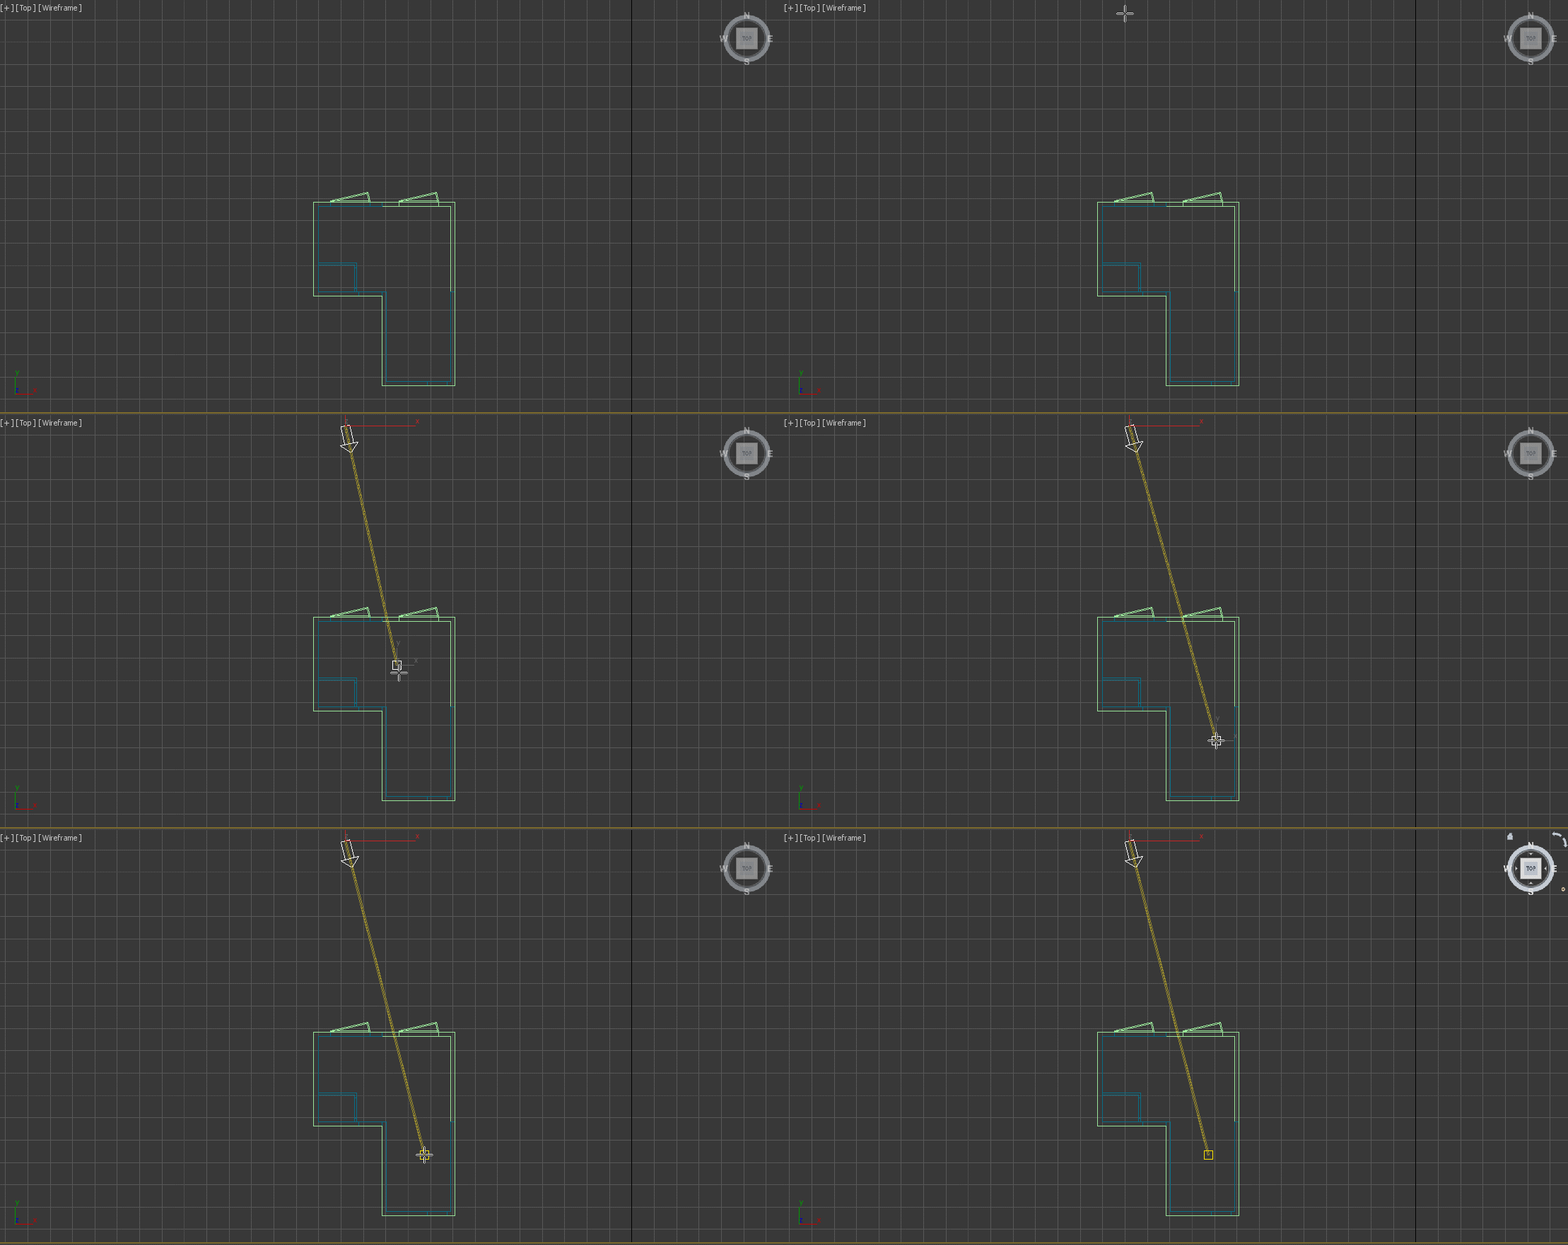
3. Adjust the height of the sun in the side view and pull it to a height. As following diagram:
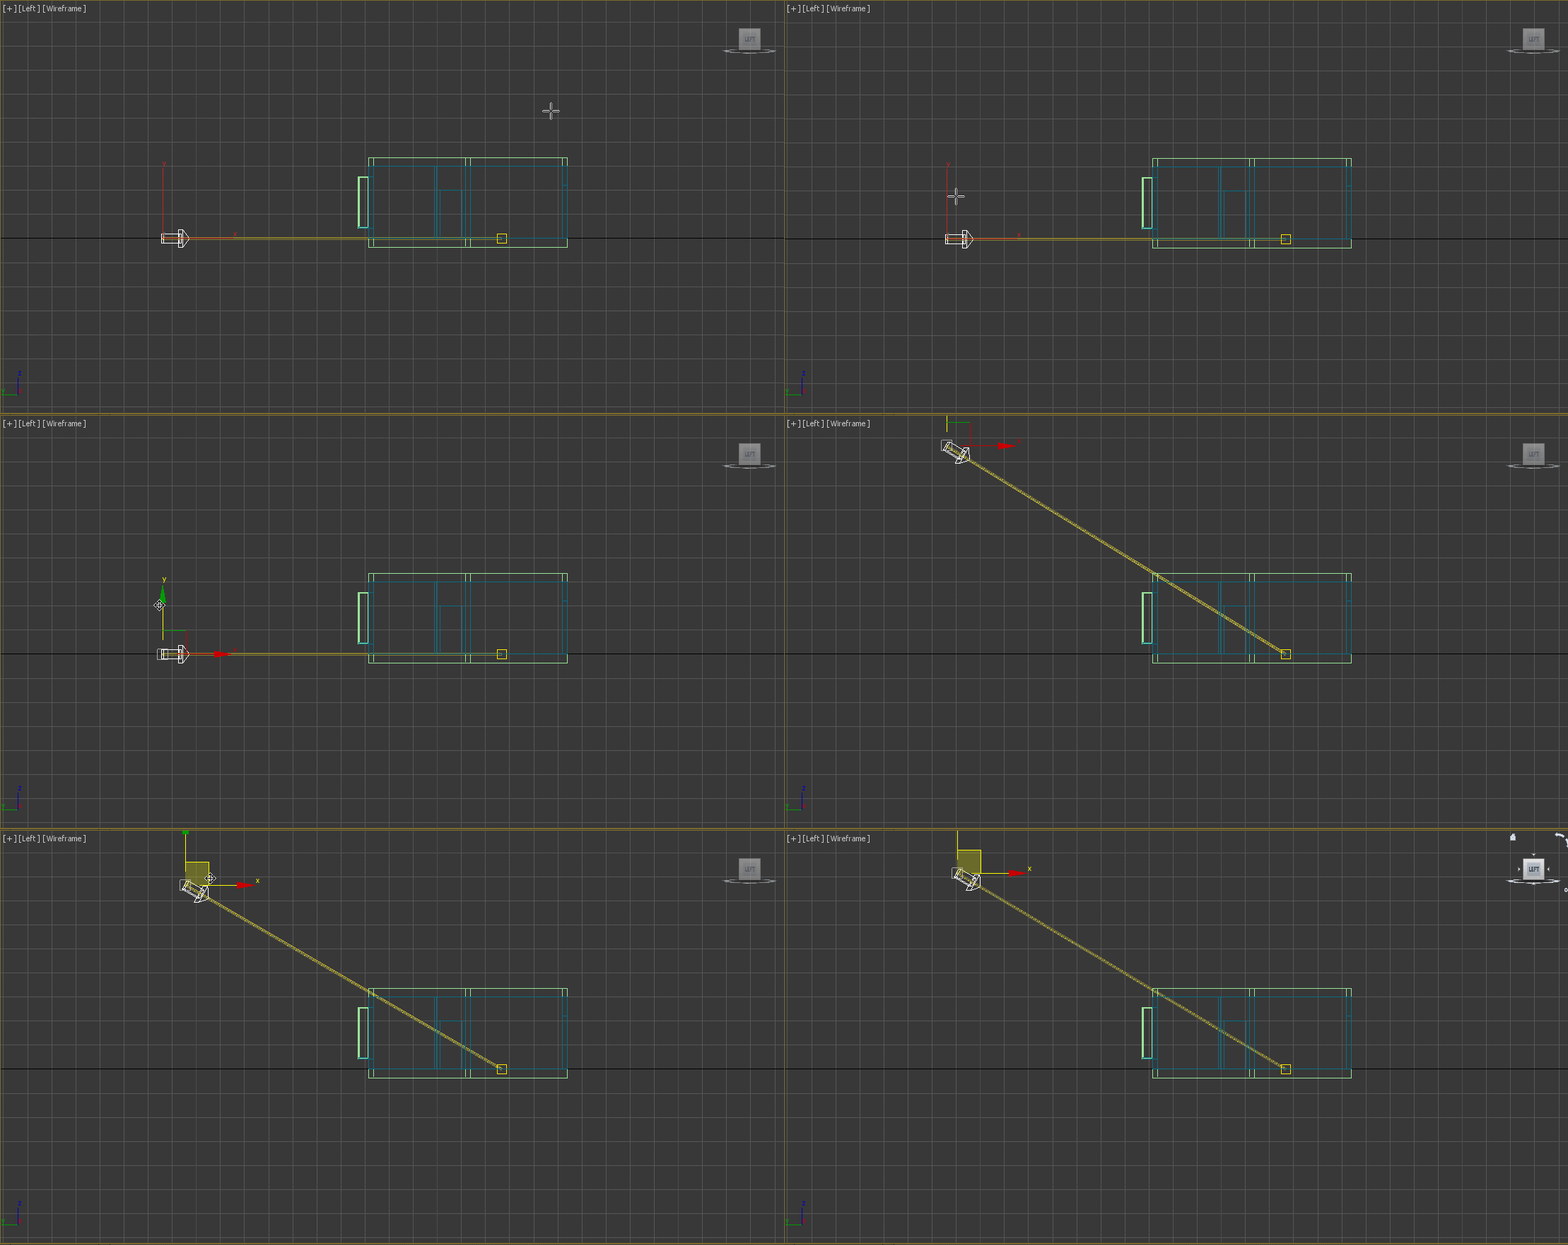
4. After adjusting the lighting location roughly, we first adjust the parameters of the sun, then fine tune the sun's position. The following parameters need to be adjusted.
(1)Open the shadow, and adjust the Shadows type to VRayShadow.
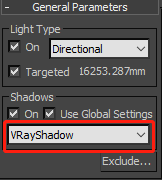
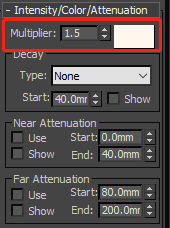
(2)Adjust the brightness of the sun, adjust Multiplier to 1.5-3 according to circumstances, the color is light yellow. If it's a sunset or a sunrise, the color of the sun will be warmer.
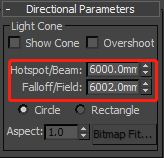
(3)Adjust the range of "sun", here is the sun for the earth, the attenuation of light is negligible. All you need to do is to enter the value of Hotspot/Beam , the numerical size depends on the specific circumstances , the value is so large that the sun can encase the whole scene.
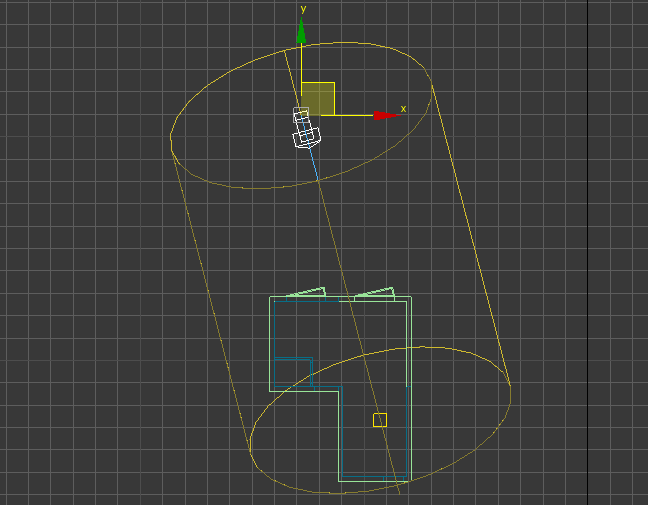
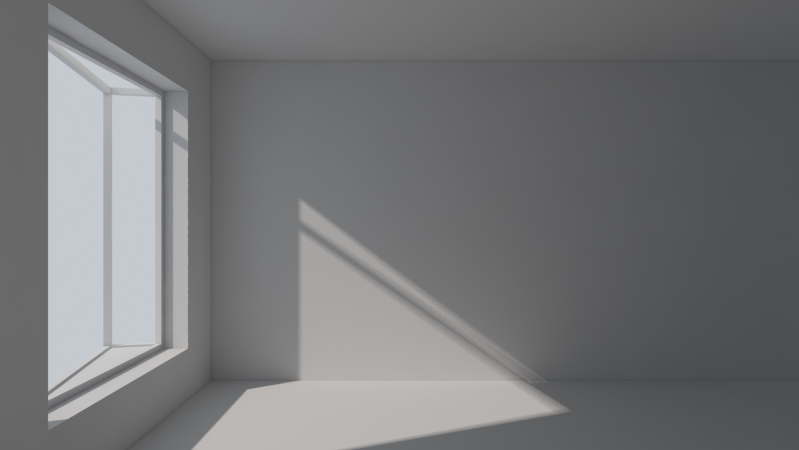
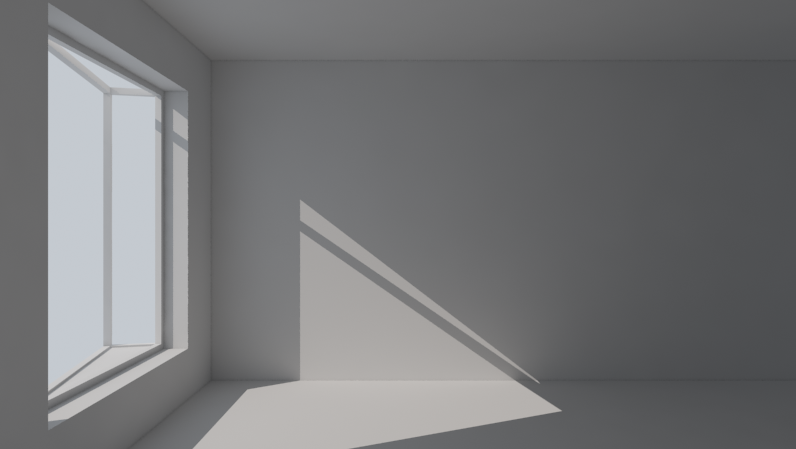
(4)Finally, adjust the shadow parameters , Check Area shadow and Box. UVW is adjusted to the same value, this value is used to control the soft and hard edges of the shadow. The following two pictures are the edges of the shadow. The former UVW is 200. The latter is 10.
5. After the sun's rays, in order to make indoor natural light more natural. We need to add skylight. The skylight is simulated by VRayLight. In the side view, create vraylight with large windows and adjust its position to the window in the top view, Facing indoors.
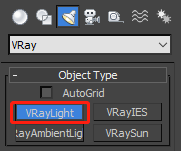
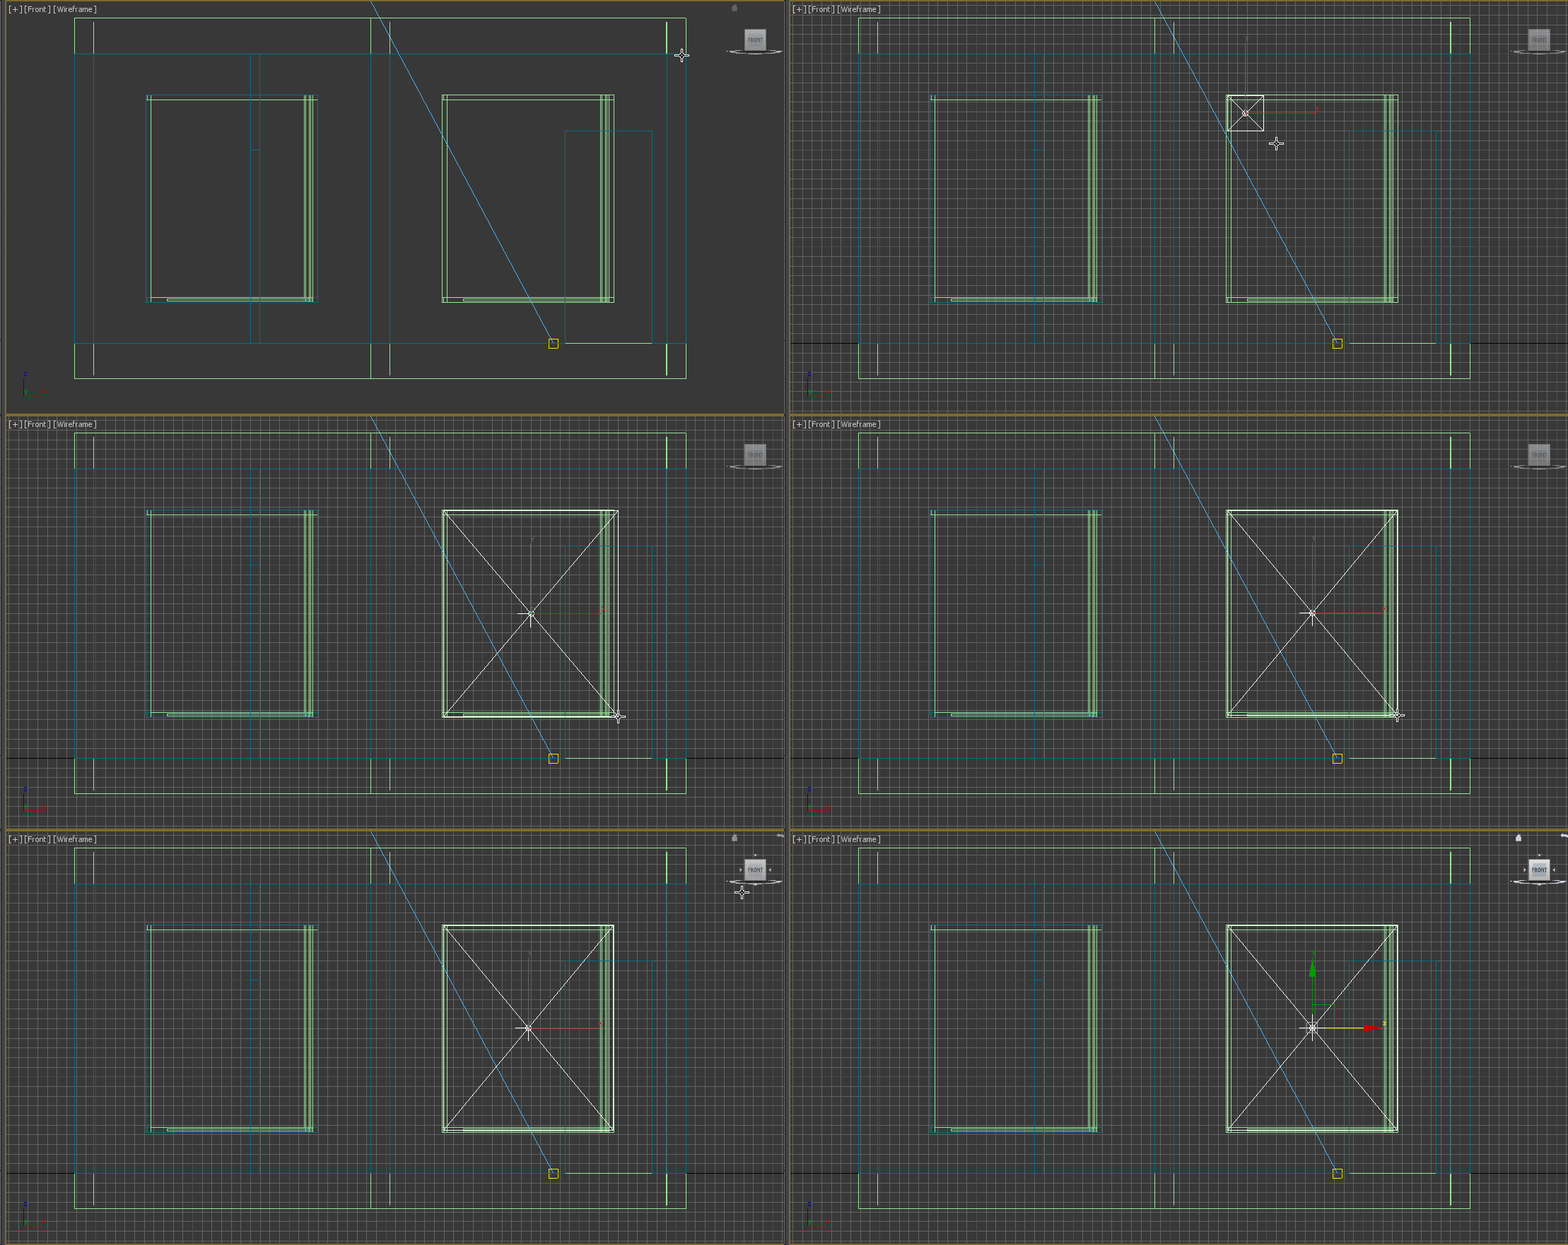
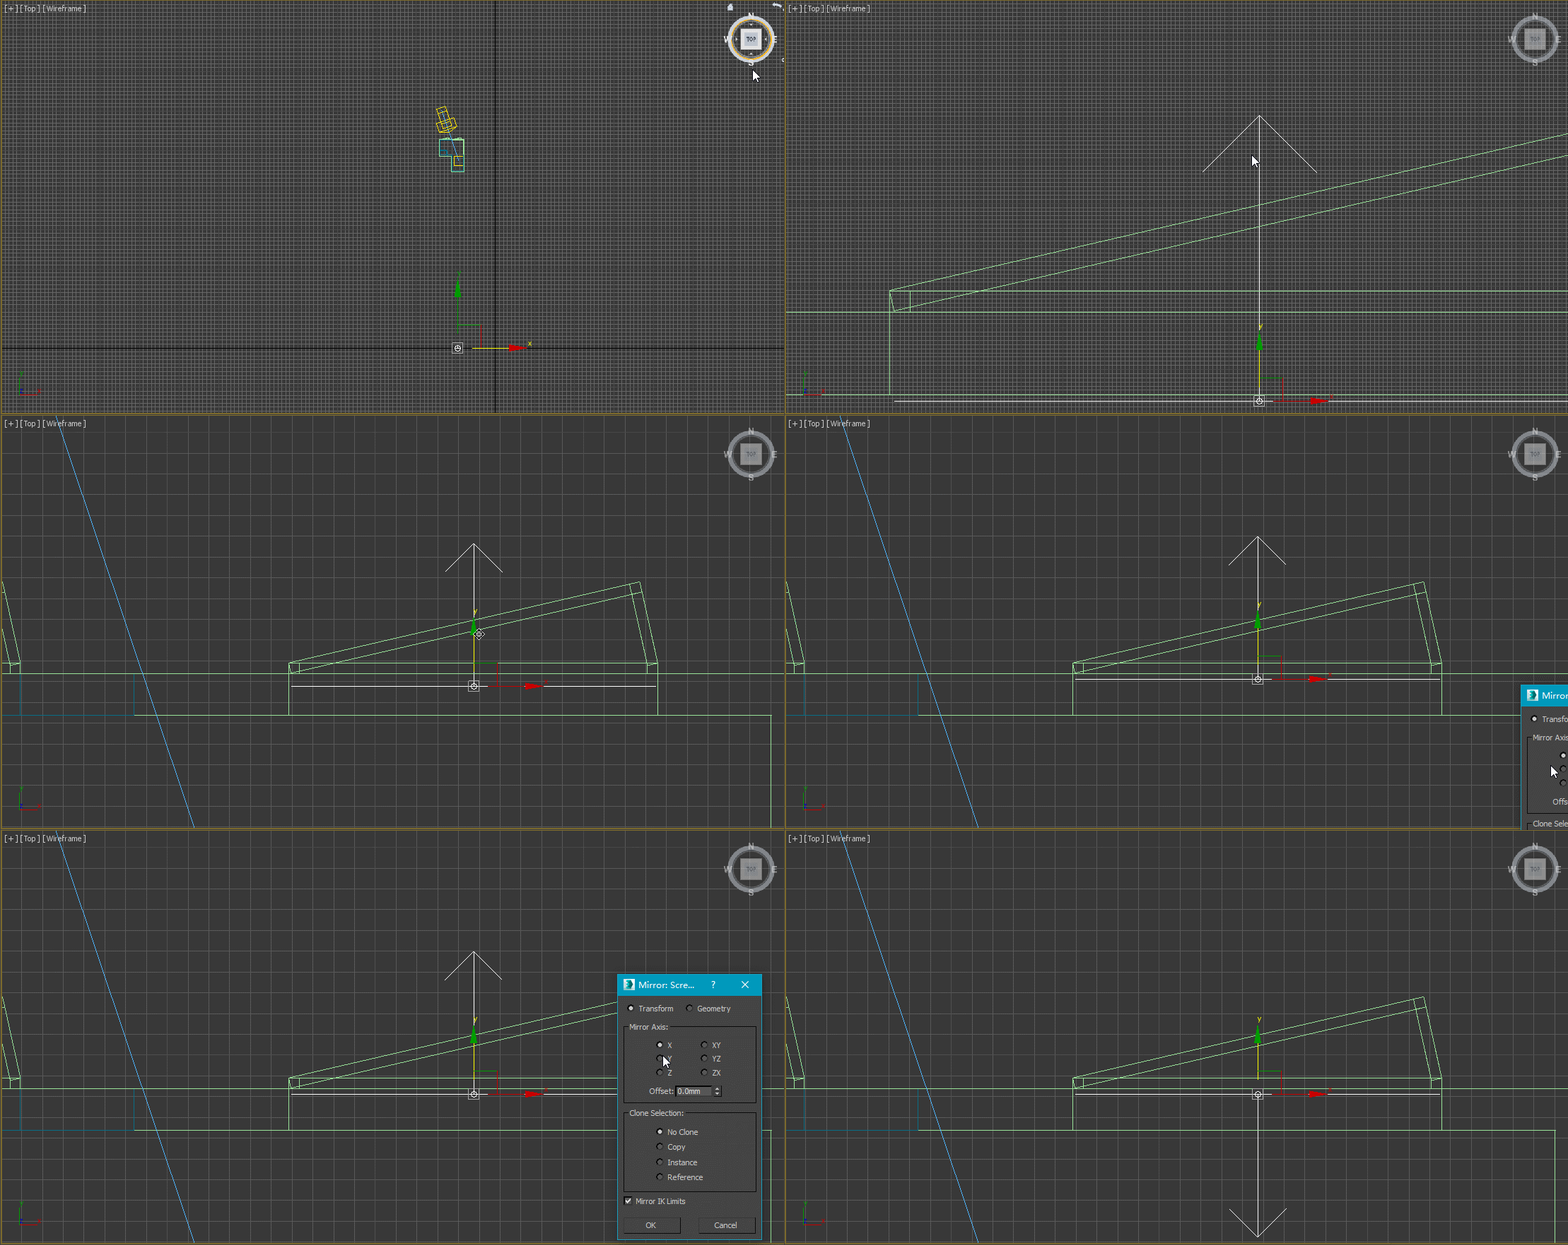
6. After placing vraylight, start adjusting its parameters. As follows:
(1)Adjust the Mulitplier, in general, it is 2-8, it also depends on the specific circumstances, for example, the size of the window.
(2)Adjust the lighting color, the sky is rather cold , So here the color is changed to pale blue.
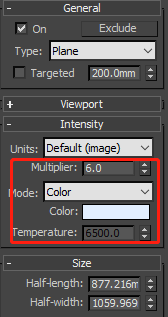
(3)In the options, check Invisible and adjust Subdivs to 16.
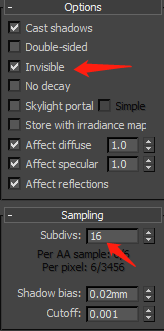
7. After all these are done, enter the final adjustment phase, further adjust the incident angle and position of sunlight. How can we directly see the precise location of sunlight entering the room? as following diagram:
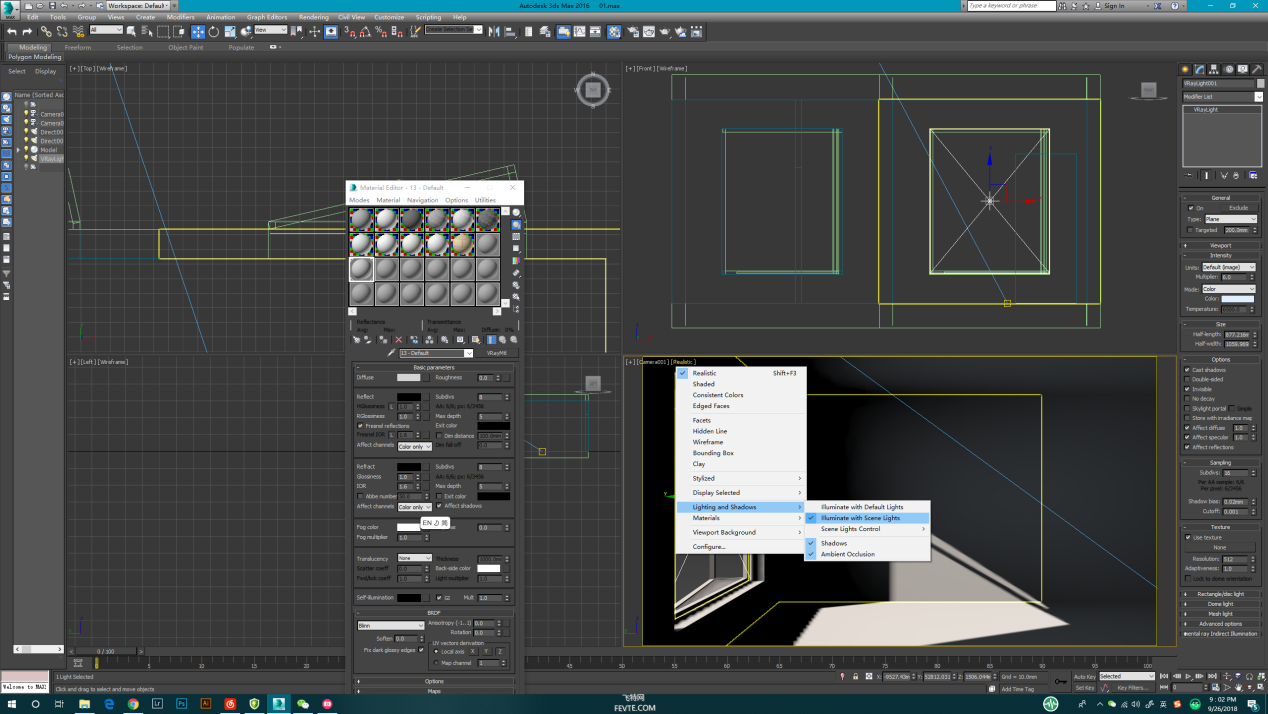
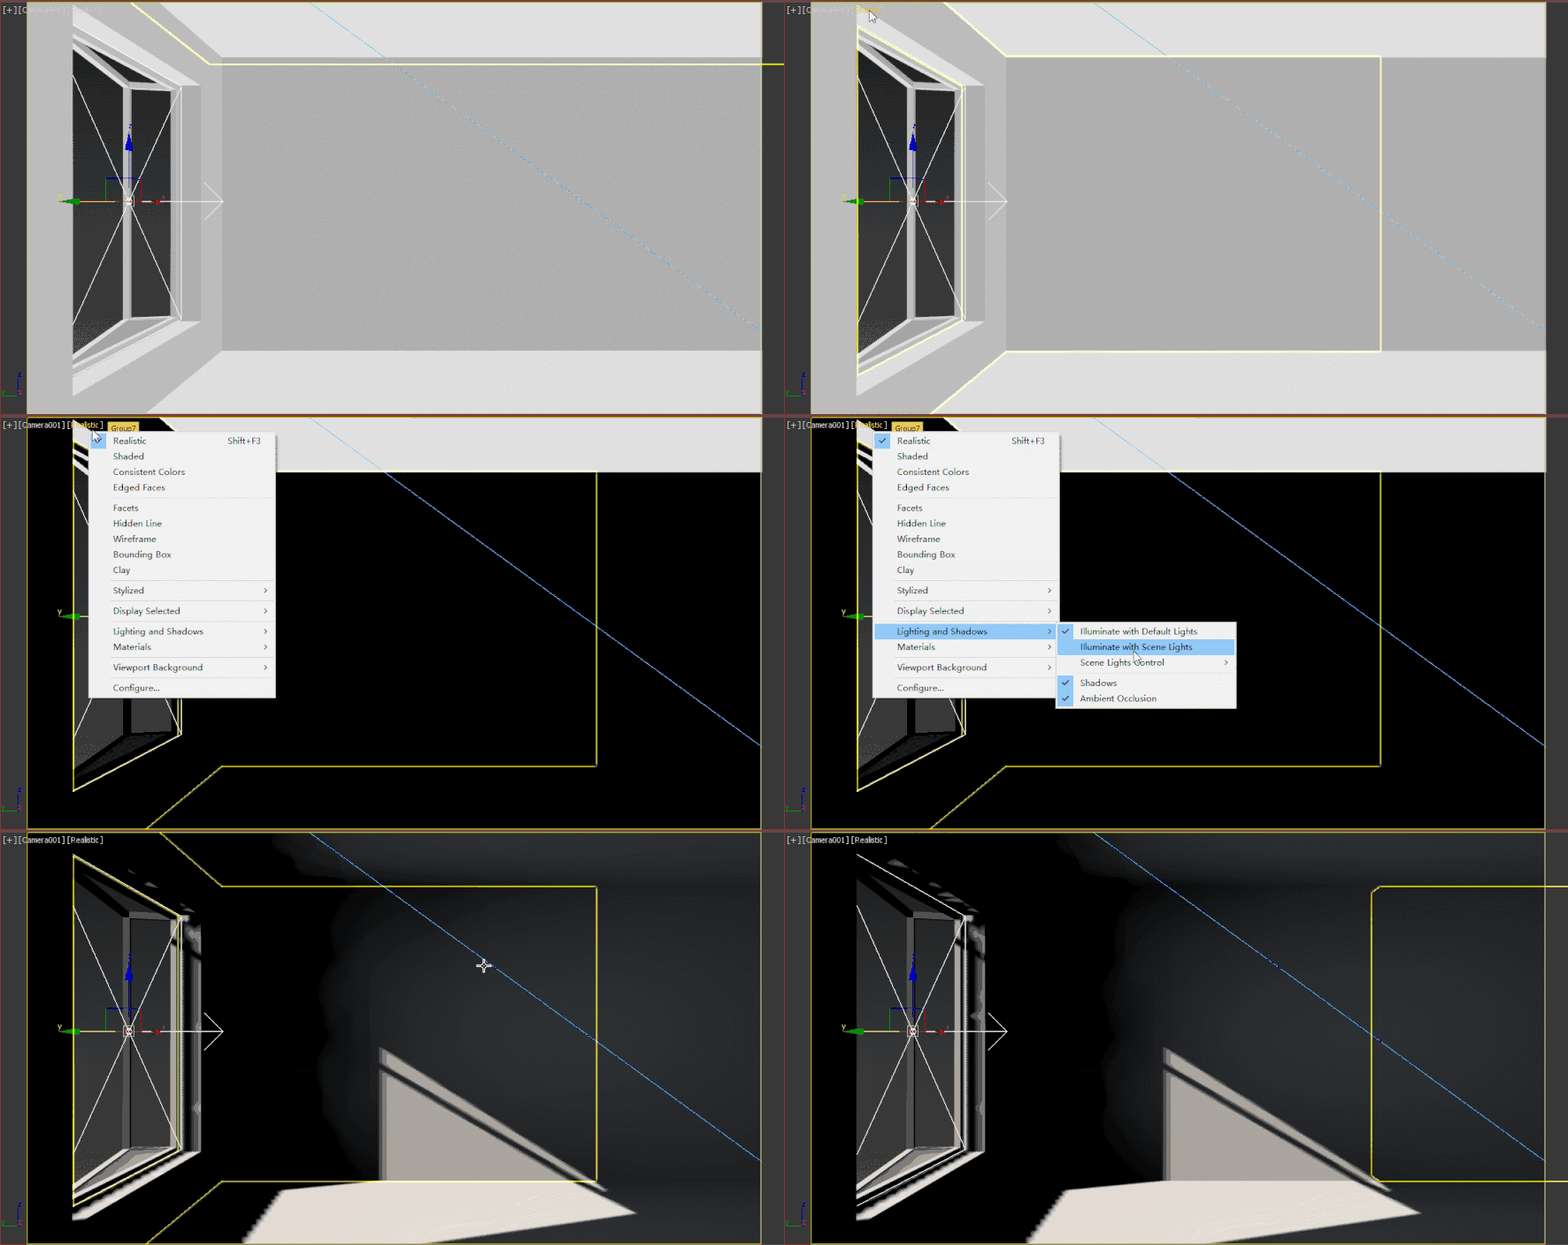
8. Through the above operation, you can see the location of sunlight in the room in real time, it's much easier and easier to adjust. Finally, let's take a look at the final effect.
